Like any other custom post type, you need at least two templates to make things work, an archive and a single post. If you want users to be able to submit posts front-end, we’ll need a page for that too, but it doesn’t have to be a template. These will both be built using familiar Breakdance tools – templates, elements, global blocks and post loops. We’ll assume you know the essentials like adding Post Title headings, Featured Image and similar – and just cover the parts unique to Smithy Portal.
Single Post Template
Create a custom template, find your post type under single and select it. Most of the page should be obvious, add your title, content, any custom fields you added if needed. There are two custom elements for Smithy Portal to help you display the documents and controls.
Portal Document
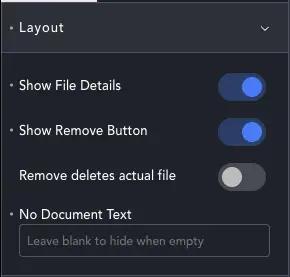
The document element displays a list of files attached to the post. The document controls allow you to decide which details it will display, the name, size and date and/or the remove button. It also lets you decide how remove works – to only remove the attachment or to also delete the file itself. Delete Mode further decides if we move the file to trash or delete it completely.
Documents in trash can be reviewed by an admin in the Documents menu. They can be removed or restored – giving you a safety net to undo user error.
You can also choose the ‘No documents’ message.
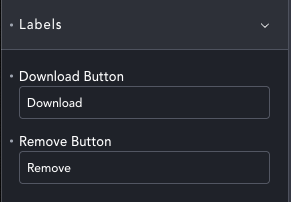
The labels section is for changing text on the download and remove buttons.
You can also style the element to match your site – but these are all standard Breakdance element controls so we won’t document them here.
Portal Control
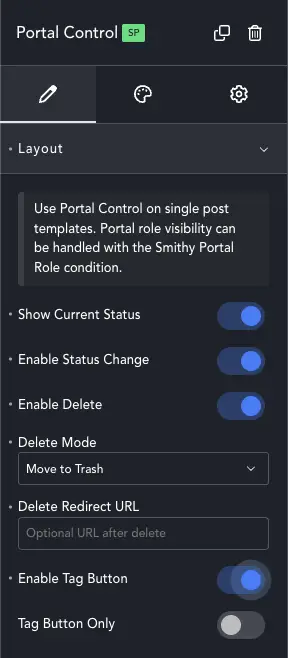
This element provides the front-end controls for your post. It automatically recognises the permissions the user has and will therefore hide buttons even if they are enabled here.
Show Current Status will display draft, published etc. and Enable Status Change allows a user to change that status front-end (but logged in).
Similar to the file removal, we have options here to show a delete button, decide how the delete works (to bin or permanent) and choose a redirect (because if we delete the post the URL doesn’t exist anymore).
Enable Tag Button will show/hide a button to tag the post. This enables ‘wishlist’ or ‘follow’ behaviour. The user ID is attached to the post, and we are able to then list either all posts this users has created, or all posts they have tagged (followed, wishlisted etc.).
If you choose tag button only this is the only button that will show. Good for global blocks.
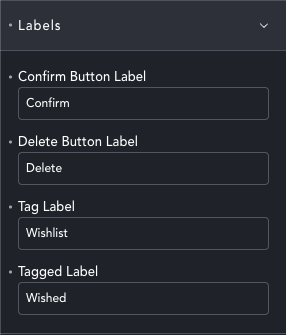
You can also set labels for the buttons. Tagging works in one way, it marks the post as ‘related to’ the user. How you use it only depends on how you label it – simple choose the label that works for you.
With these two elements you have front-end listing of all attachments and user-control of posts.