QR Coder is built on qr-code-styling.js. You can find a playground for it and a detailed docs link too [https://qr-code-styling.com/].
Given the detail in the QRCS docs I wont be too elaborate here. I’ve basically wired up controls to match all the settings – so what you can find in the doc you can do in the element.
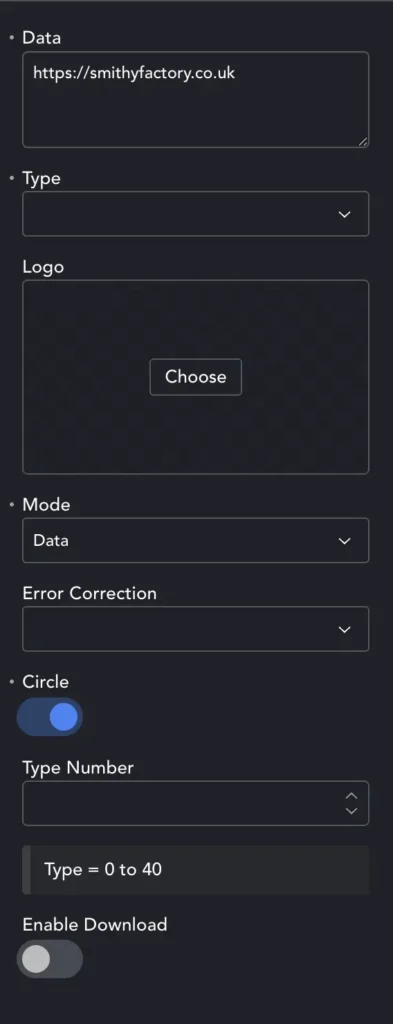
Content
The Data box is where you put the content for your QR code – most often a URL.
Type – QRs can be rendered as a <canvas> element, or as an SVG.
Logo – You can add a logo to the centre of your QR Code. It will be very small, so a 120px square image is large enough.
Mode – Data (byte) accepts ‘web compatible’ url strings. Numeric only accepts numbers. Alphanumeric accepts ONLY UPPER CASE LETTERS, numbers and a very limited set of special characters like punctuation and math symbols. More complex strings should use Data mode. Kanji Encodes Japanese Kanji characters using the Shift JIS character set.
If in doubt, use Data as it accepts almost anything. The reason for using other modes is that they require less dense data, so the QR code can still be read when much smaller.
Error Correction – controls how tolerant the code is to error. Higher is more tolerant but allows less data, low fits more data but is more prone to error.
Circle – simply makes the QRCode a circle.
Type Number – controls the QR version. Higher versions use smaller dots and can hold more data. Obviously there’s a trade-pff, as smaller dots require a larger overall QR code image.
Enable Download – Will add a button which downloads a graphic of the QR code when clicked.
Simple Tips
Every setting is about balance. If you have a short URL, then you can keep the type number low (e.g. 1), error correction low and have a tiny QR Code that’s still reliable. But if you need to encode a really long affiliate link or other complex data, you’ll need to set the type number higher, raise the error correction and make the QR code larger on-screen.
Remember this when styling the QR Code – because you should keep codes with lots of data clear and high-contrast. Whereas simple data or a short url will allow you to pop a logo on, add gradients and get proper fancy with it all.
In the end… just scan it… does it work? Then you’re good!
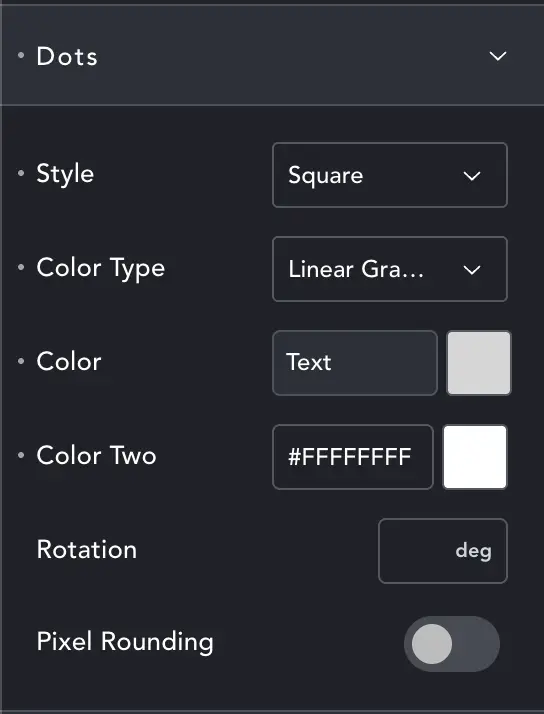
Styling
Most dialogues contain the same controls so we won’t cover tham all, just those with other controls in.
There are 2 or more styles for most parts of the code, like round or square corners. Choose the style you want. Each also has two colors, one for plain, the second if you choose a gradient for Color Type.
Rotation – controls the angle of the gradient.
In Dots we have Pixel Rounding. This only take effect if we choose circle for our main shape. If we say yes, all dots or round shapes will be set to whole-pixel values. Again, if we have complex data, this rounding might affect readability. If False the edges are crisper.
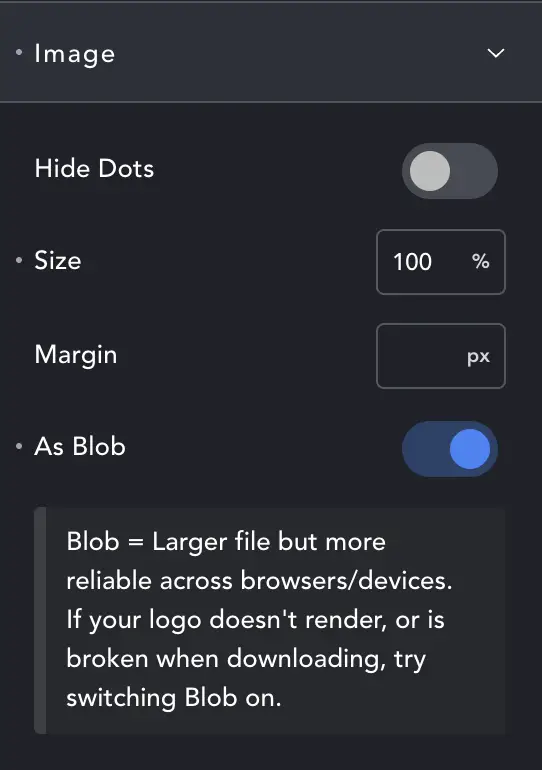
Image
If you choose to add a logo image you can control how it appears. Hide Dots will hide the dots that would appear under the image, for a clean space around the logo. Obviously this reduces the number of dots we have to encode the data – so it works best with simple data.
As Blob – when rendering the image the script tries to add it as a small file embed. This doesn’t work as reliably cross-browser. If you don’t see your logo on Safari or other browsers, select As Blob and it will be encoded as a slightly larger but more reliable format.