General Notes
ScrollBack does a lot of work, and it doesn’t much like being in the builder. While I’ve done what I can to make it work inside Breakdance – you will find times when it breaks down, images disappear etc. Just save and refresh the page. It’s rock-solid front-end which is where it counts.
There are literally hundreds of effect combinations, so this is a guide to the basics. It should give you enough knowledge to experiment with the effects for more advanced setups.
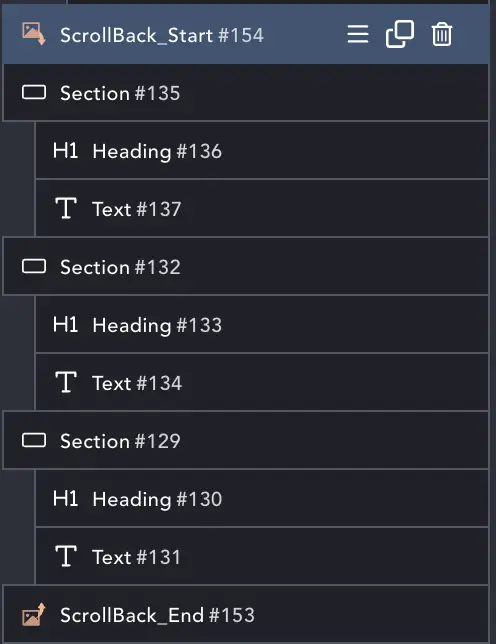
Setting Up
ScrollBack doesn’t fit the expected type for a Breakdance Element, so needs to be used with care. To build an instance, you need ScrollBack Start – some sections – and a ScrollBack End.
It’s possible to accidentally put ScrollBack inside another element, at which point it will not work. It must be a root element, as in the image. Make sure you drag it such that it is at the root.
Note that there are 3 sections between Start and End elements. (See Precise for why this matters)
Styles
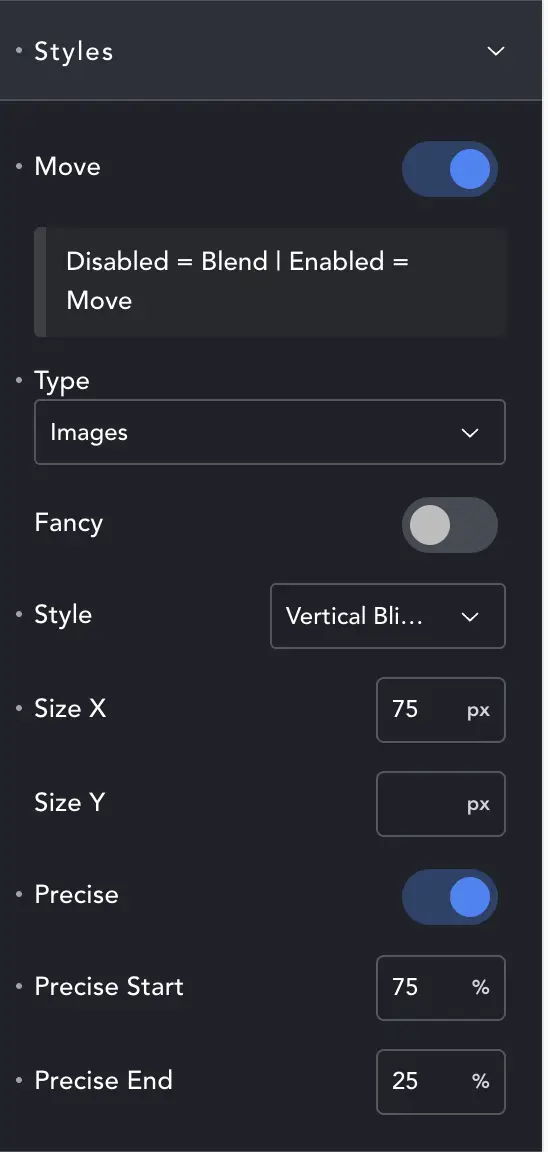
We start with Styles because we need to tell ScrollBack what kind of element we want first, before we give it content to play with.
Move – When disabled, we will crossfade items, when enabled we will animate them.
When disabled you will see a Film Fade toggle. This switches us from a gentle cross-fade, to a rapid image-swap. You can put a number of images in and have a ‘film-on-scroll’ effect, but I’d recommend FilmBack for that. it handles it much better. Here it’s more for switching from cross-fade to swap as a style.
Type – choose color, gradient or image based backgrounds.
Fancy – in move mode we have the option of more dramatic effects (see below). These are more suited to layouts that are not full-screen.
Style – Gives you a menu of 34 effects including stacking, clipping, masking and wipe effects. Just try a few to see what they do.
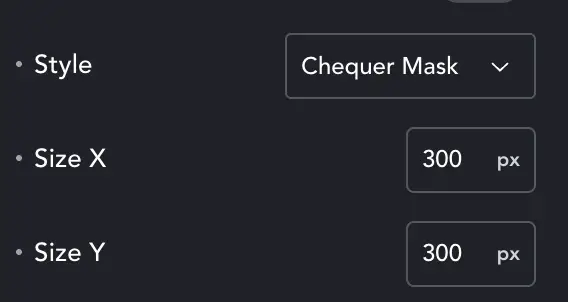
Many of the masks let you set a Size X/Y. This is like ‘background size’. Instead of one large mask, the images are revealed by a grid of masks – each being this size. Size X = 50vw and Size Y = 50vh will give you four masks simultaneously revealing the item below.
This allows you to create ‘blinds’ (10vw x 100vh) and other effects.
Precise
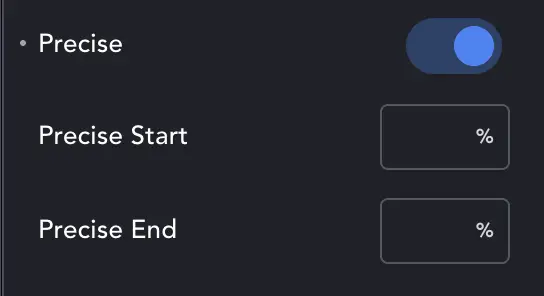
Normally, ScrollBack will look at how many items you have, and how many sections there are to scroll past. Then it will time the fades/movement evenly across the distance. Precise allows you to be more specific.
IMPORTANT – to use precise timing you must have the same number of sections as you do images. Otherwise it will revert to even timing. Going back to our structure above, we have 3 sections, and so should use 3 images, colors or gradients to enable precise timing.
Precise Start will be when the animation starts, again as a position from top. So 80% means when the item hits top:80% it will begin the animation (fade, wipe etc.). Precise End is when the animation stops.
This allows you to build the familiar on-scroll animation where the item animates in-time with section content. Set the layout to height: 60vh, width: 50%, right, offset 0. Sticking at 20%, and you’ll have a centred image on the right. At 60vh, we have a 20vh, or 20% gap bottom and top. So Precise timing start: 80% and end:20% will animate the item exactly when a section hits it, synchronising perfectly and giving a really pleasing effect.
Adding Content
Now we have the basics set-up, we can add our content.
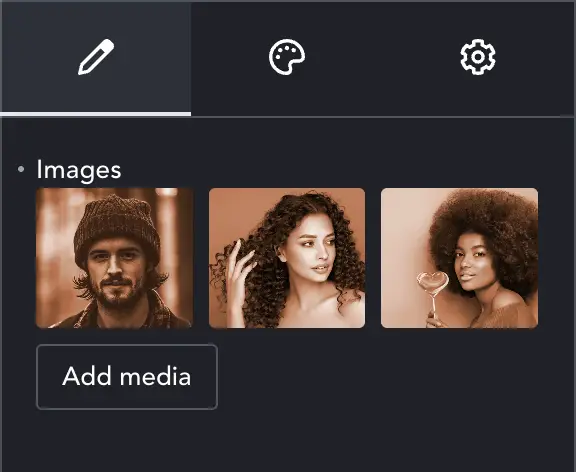
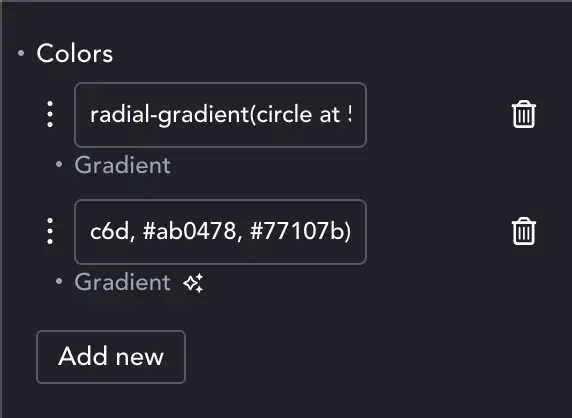
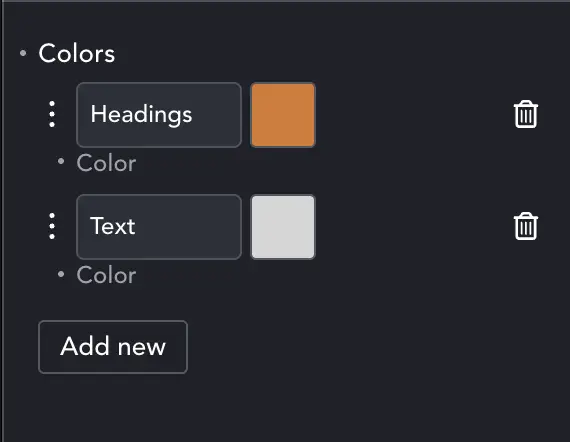
If we select Image type, we can then add media using the familiar dialogue. For Colors we have a familiar dialogue and can choose any color, including using framework vars.
Gradients require a little care. GSAP can animate any number, but it can’t parse words. When creating a gradient stick with numbers for things like position and color:
Will Work: repeating-radial-gradient(50% 50% at 50% 50%, #FF7000FF 90%, #FF5D00FF 100%)
Won’t Work: repeating-radial-gradient(center center at top left, red 90%, blue 100%)
You should also stick to matching gradients. Keep the type (radial, conic etc.) and the number of color stops the same for even, smooth transitions.
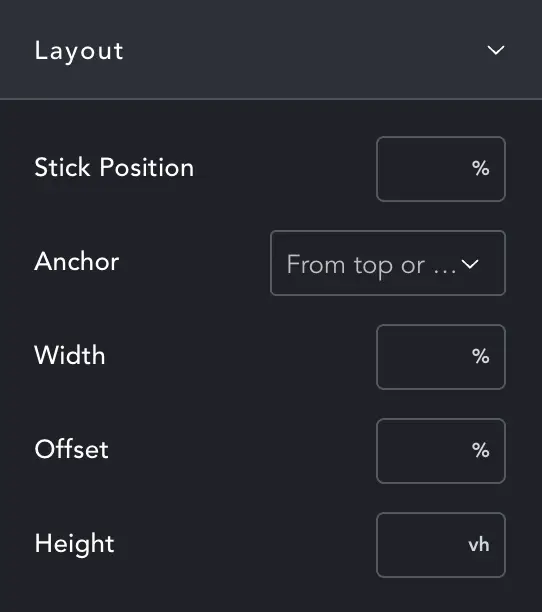
Layout
Stick Position – sets where the item sticks, relative to top. This can be set uniquely across all breakpoints.
Anchor – whether the stick position is relative to the elements top or bottom. Stick 100%, Anchor Bottom, will stick when the bottom of the leement hits the bottom of the viewport.
Previously we had normal and sidebar layouts, but this wasn’t really needed. Now we have full responsiveness we’ve simplified layout.
Each setting is fairly obvious, set the width and height to 100 for a full-screen background. Set it how you want to get the effect you need. Offset – Always from left, you can push the scroller left from the edge of the screen to the position you want.
Custom Fancy Effects
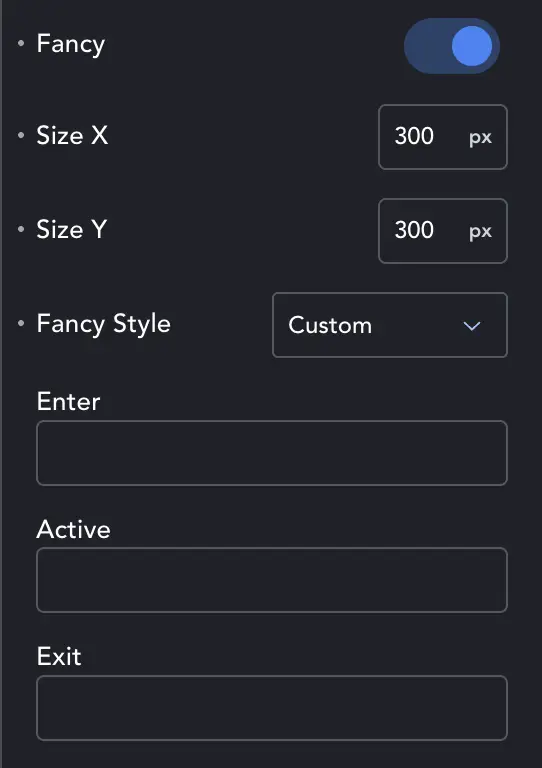
There are many combinations you can use with styles, including the Fancy Effects. These give you more exaggerated or combinatory effects. They also open Custom Effects.
Once selected you get three options. These decide how the item should look as it enters, while it’s the active image and as it exits. You need to have some understanding of GSAP and what it accepts which you can find in their docs. The three fields accept valid JSON format GSAP settings.
What Works: { “scale”: 0.2, “rotateZ”: 30, “x”: “-100%” }
What Won’t: scale:2, rotate-x: 20;
If in doubt, don’t! This is intended for more advanced users familiar with GSAP.
Background
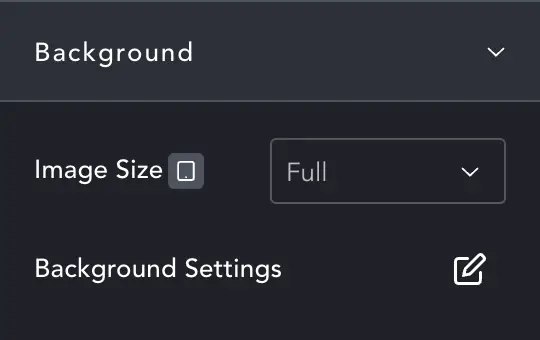
The images (and gradients) that you add are background-images. That means you can tile them if you want. If you do this with gradients it can create incredible effects.
If you’re going to use a tiled background you can set the Image Size as appropriate to prevent loading a larger image. Then use the Background Settings as you would with any background.
More Effects
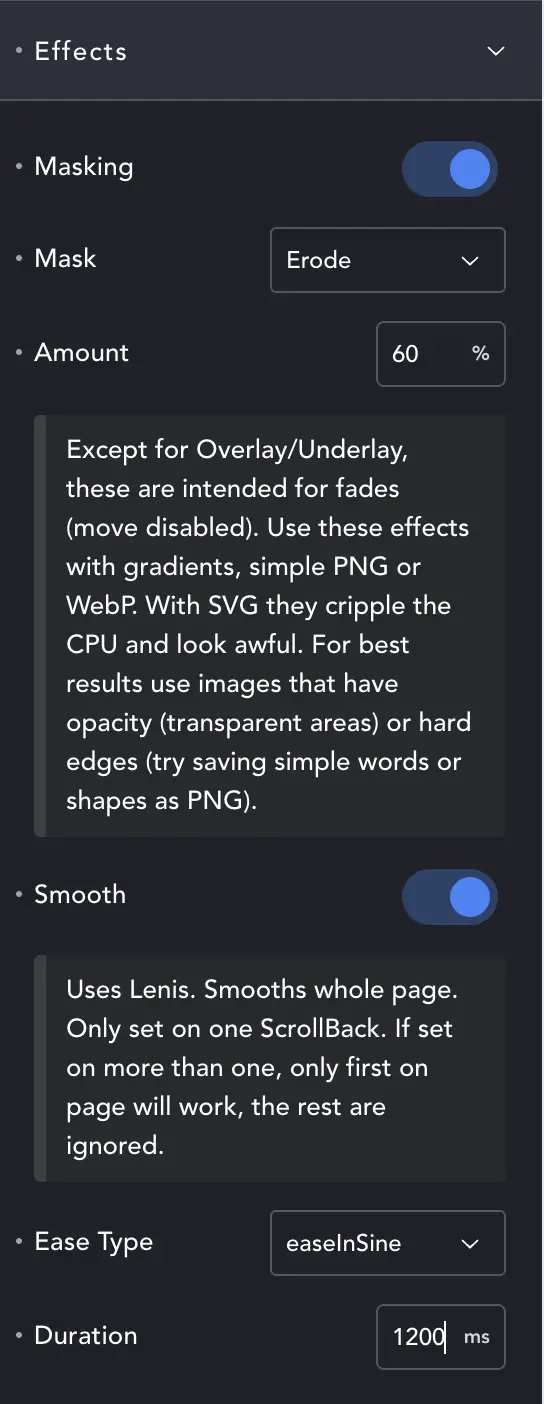
In addition to all the swipes and wipes, you can add masking to your image. While you can use these with any image or gradient, it only really works when the item has a lot of transparent areas.
You should avoid using it with SVG, as it requires massive calculations that will wreck your page. It’s aimed at simple png or webp. Enable Masking, select the effect and add images of simple things like this example.
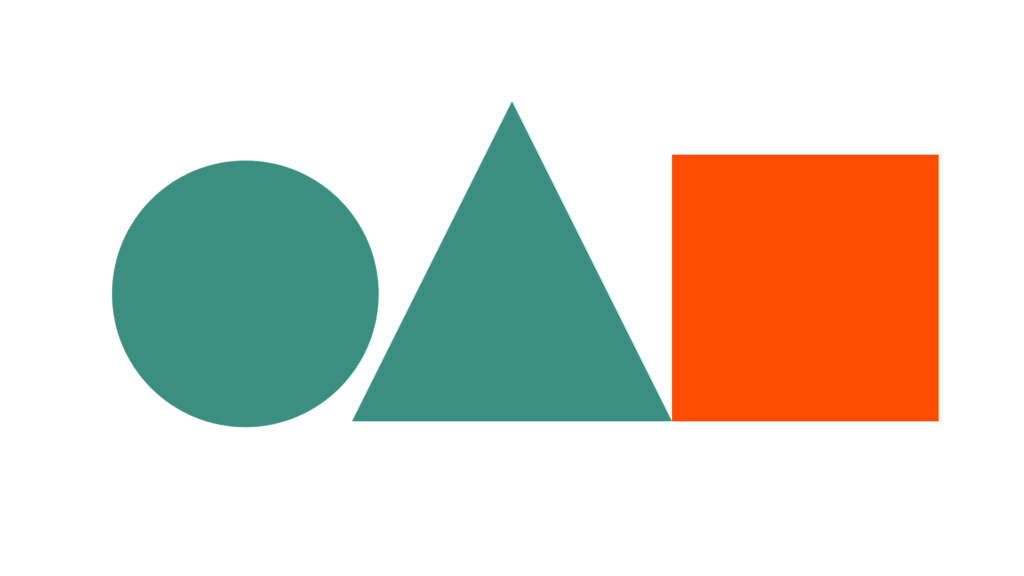
The mask adds a lovely melt/erode transition for simple images like this. You can also save words as png, and morph between them. Experiment with it.
Smooth – adds a full-page smooth scrolling effect. It’s very lovely, but it’s also full-page, you can enable it for just one ScrollBack instance on a page. It uses Lenis, because Breakdance isn’t compatible with GSAPs scroll-smoother plugin. When using smooth you can also set the ease type and duration of the smoothing animation.
Two further options are Overlay and Underlay. Overlay is a standard overlay so you can darken/lighten all images. It comes with the bonus of Mix-Blend-Mode allowing you to set the mode and add another effect layer. For example Difference will invert colors and can give a split-screen effect to transitions if you make your overlay color a gradient.
Underlay can be useful as we use transparent sections and may not want to show the ‘body’ background color if our images have transparency. Instead we can set the underlay color and it will hide the body.
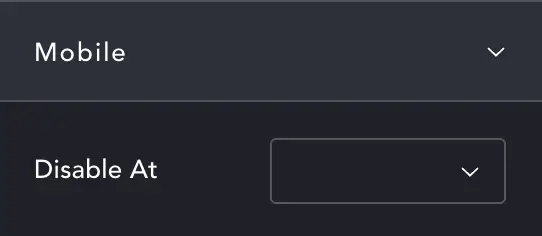
Mobile
In addition to allowing size, pin-position and layout across breakpoints, you have the option of disabling ScrollBack on mobile.
Getting GSAP to work on mobile is a struggle, even for GSAP – who have created whole add-ons to tackle Safari’s many bugs and quirks. Scrollback includes a menu observer for Breakdance’s mobile menu and the ‘show/hide’ behaviour of mobile navigation and address bars. It does a pretty good job, but there may be situations where you need to disable at some breakpoint. Simply set that here and ScrollBack will disable and remove itself.
You may then have lots of blank, boring backgrounds. This is easy to remedy. On each section between start and end, set a background image or color only on the required breakpoint. You’ll then have nice backgrounds to replace ScrollBack.